

Installation Instructions
Step 1
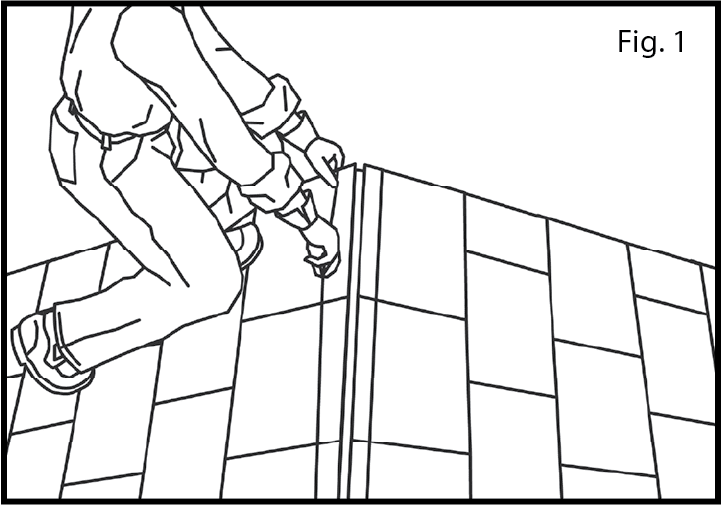
Using a chalk line, mark out 1" on both sides of the ridge as a guide for cutting a slot in the top of the ridge. See Fig. 1.

VentSure® 4-Foot Strip Heat & Moisture Ridge Vents
VentSure® 4' Strip Ridge Vents are designed for roofs with slopes of 3/12 to 16/12 pitches.
Intake at the eave vents should be equal to or exceed that of the ridge vent being installed. VentSure ridge vent is designed for residential applications.
Using a chalk line, mark out 1" on both sides of the ridge as a guide for cutting a slot in the top of the ridge. See Fig. 1.
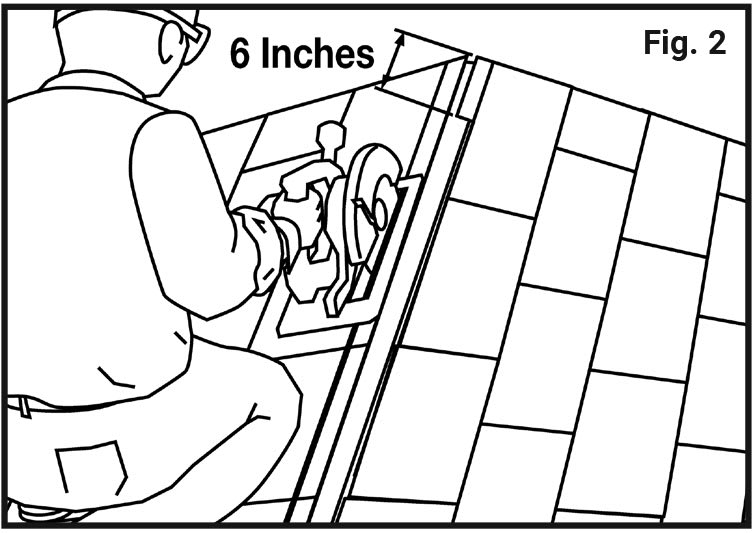
Cut slot using a circular saw with the blade set at a depth to cut through the wood sheathing only. See Fig. 2.
NOTE: Start the cut 6" from the edge of the roof. Remove the sheathing debris from slot.
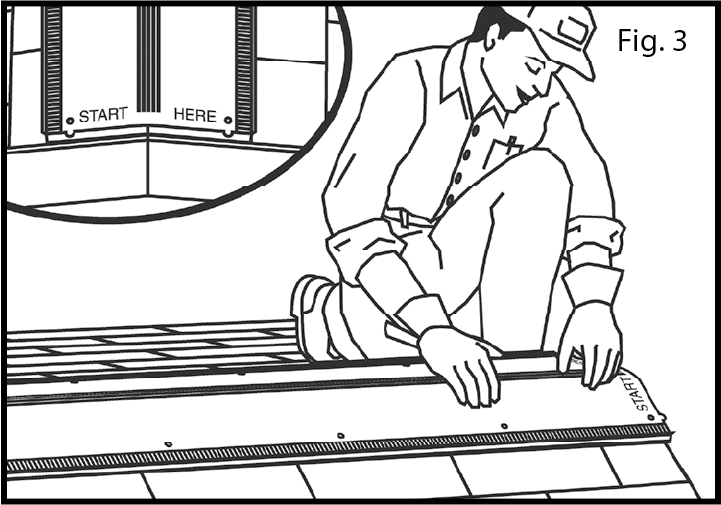
Center the vent over the opening that has been cut in the ridge, ensuring the vent sits flat on the roof. Also ensure that the interlocking tabs are facing the opposite direction you will be installing the next piece of ridge vent. See Fig. 3.
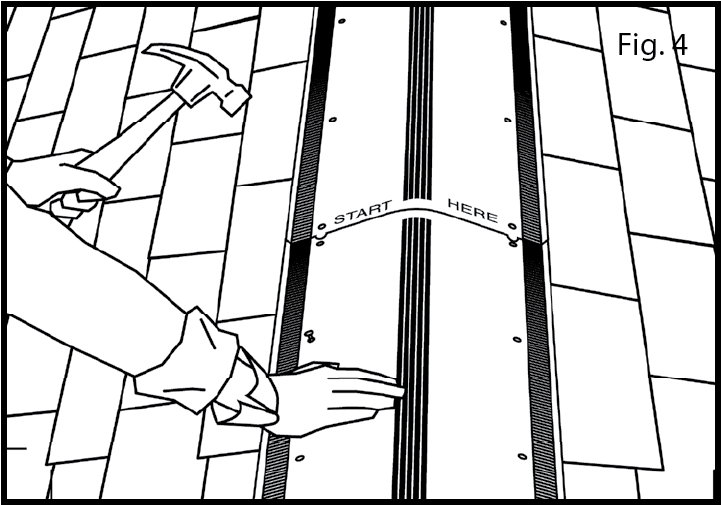
As you install the vents, ensure each vent is snapped together, then nail in place using the nail holes marked on each vent. See Fig. 4.
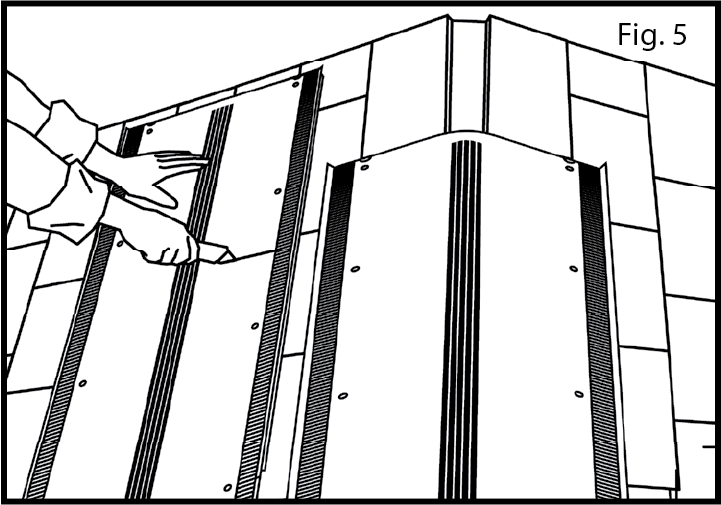
Using a utility knife, cut the final piece to a length long enough so that it is flush with the edge of the roof. Connect making sure that the built-in end caps are exposed and nail in place. See Fig. 5.
NOTE: In most cases, the final piece will not use the interlocking feature.
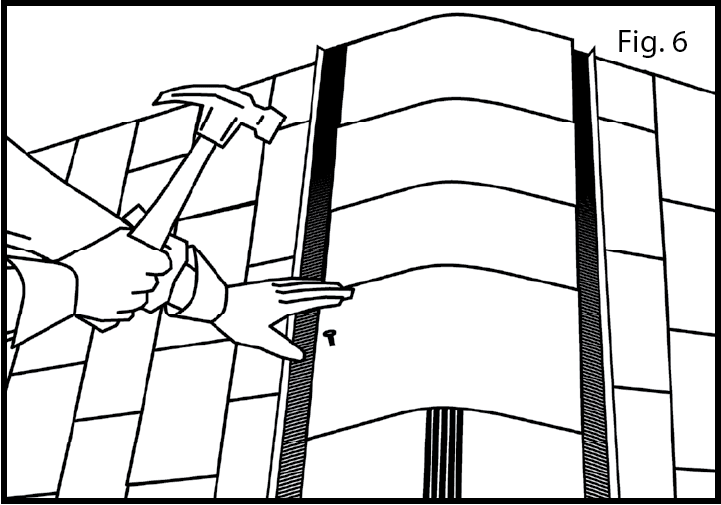
Nail hip and ridge shingle over the vent using nails long enough to meet the penetration requirements of the shingle manufacturer or use nails provided with the VentSure ridge vent. For a clean look, extend the hip and ridge shingle to cover the interlocking tabs or trim tabs off using a utility knife. See Fig. 6.
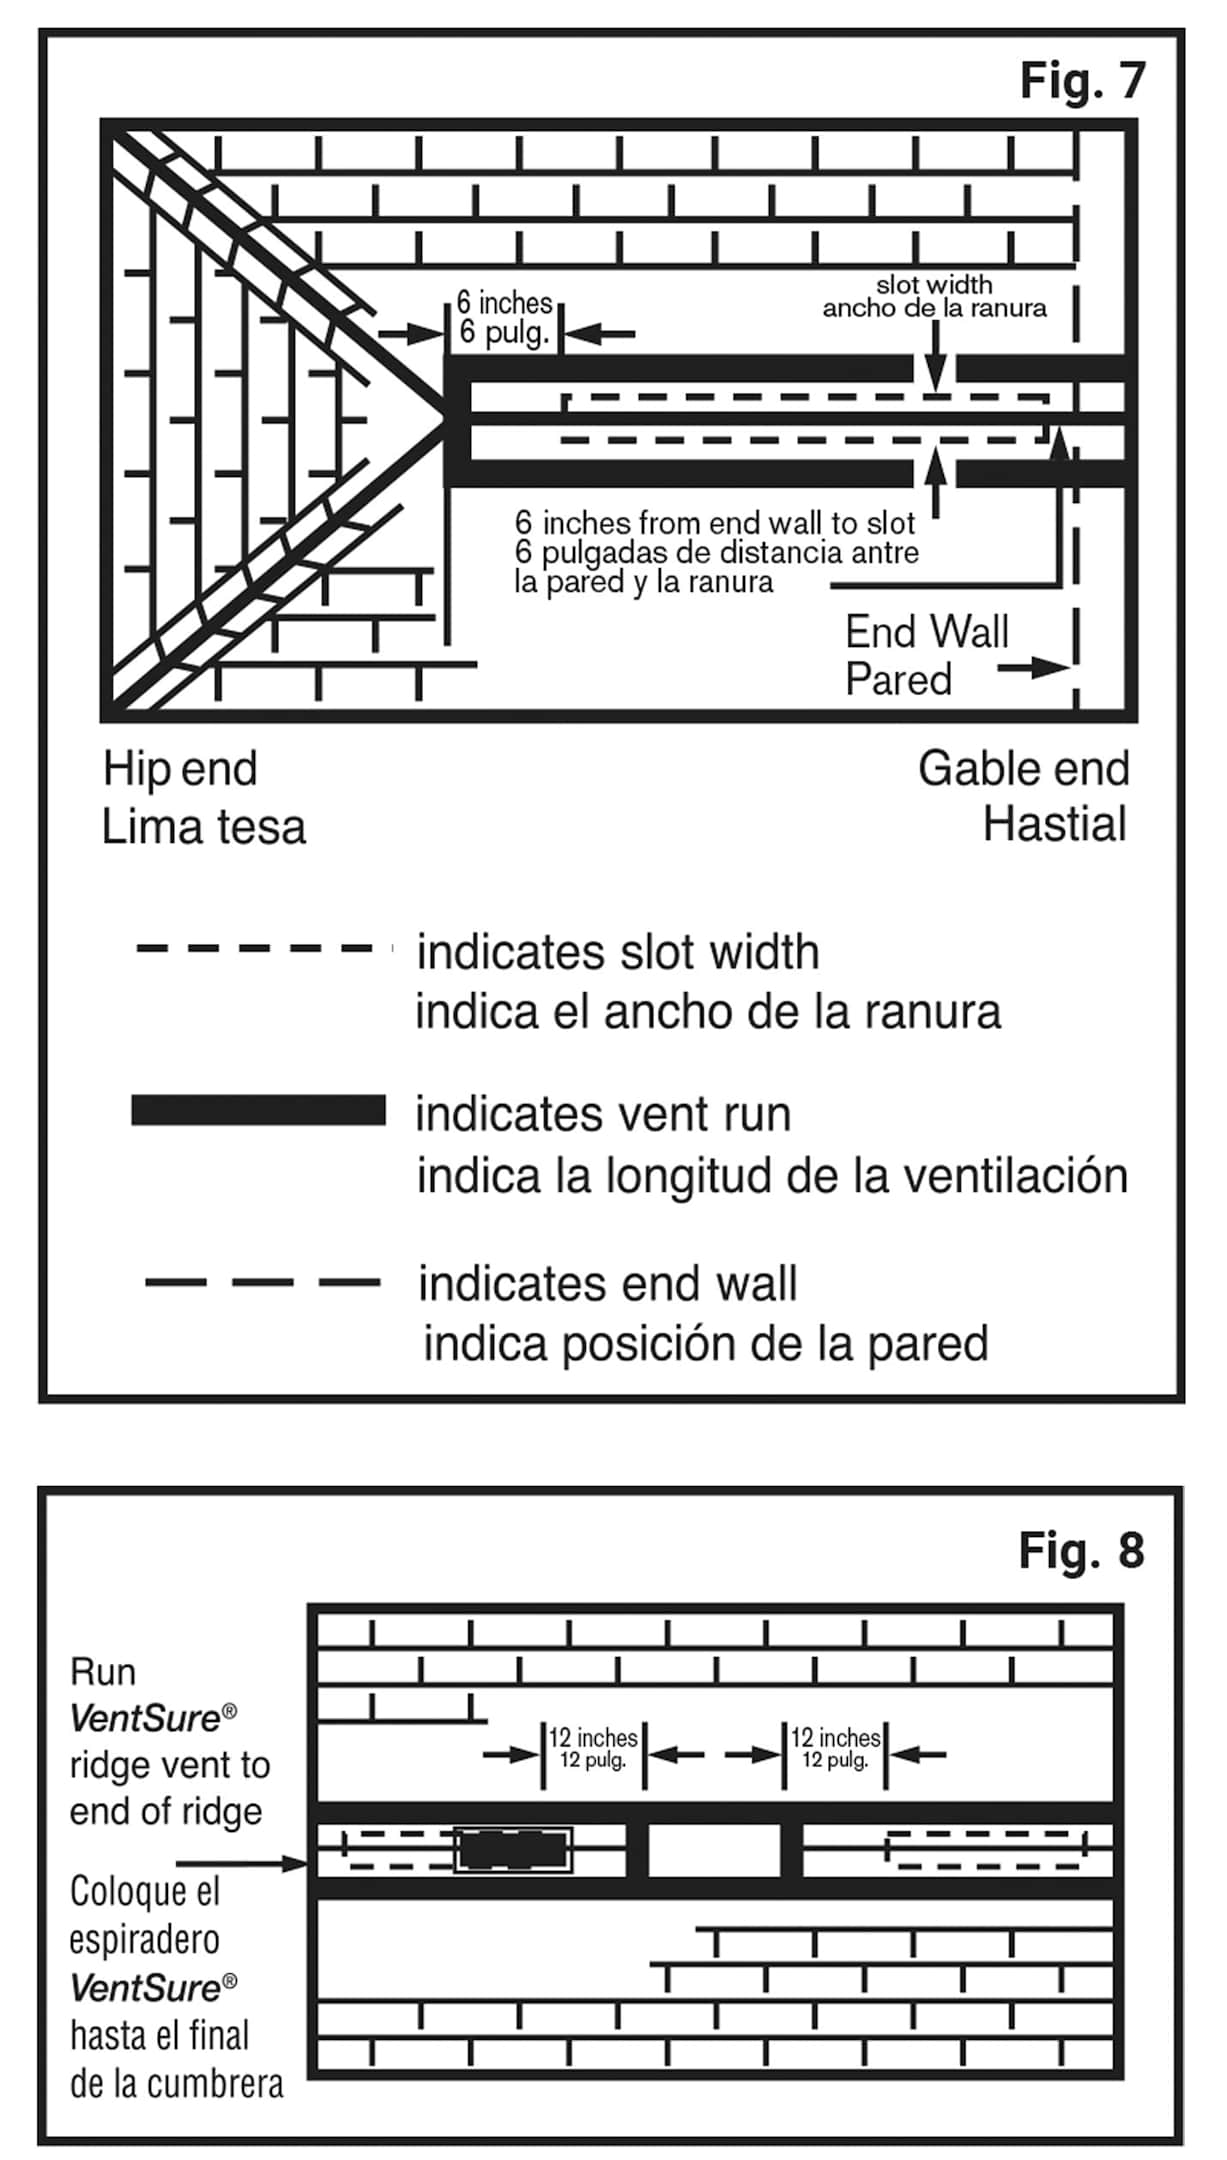
Cut slot 1" on both sides of ridge to within 6" of end wall or hip intersection. See Fig. 7.
Cut slots 12" from chimney. Run ridge vent from end of roof to butt against chimney. See Fig. 8.