









Roofing shingles and underlayment work together to provide your home with protection from the elements, including rain, snow, and wind. But these roofing products can only do their jobs when properly installed.
Proper Nailing Techniques for Optimal Performance of Asphalt Shingles
Roofing shingles have specific guidelines for how they should be fastened to your roof. They relate primarily to the quantity, location, and driving method of the roofing nails.
Proper installation is essential for optimum shingle performance and for compliance with the International Building Code. Learn where and how to nail shingles to ensure performance and holding power.
Pro Tip: Visit our Document Library for roofing product documents, such as data sheets, install instructions, technical bulletins, and more.
Roofing Nail Characteristics
Roofing nails may be used to install shingles and most roofing underlayments.
Materials
Nails can be made of:
- Aluminum
- Copper
- Stainless steel, or
- Galvanized steel (zinc-coated)
Some roofing nail materials are more suitable for certain geographies than others. For instance, if you live in a coastal area where your home is exposed to salt, stainless steel roofing nails may be a good choice. Galvanized roofing nails tend to resist rust formation, and they are a suitable option for asphalt shingles. Owens Corning requires using either galvanized steel, stainless steel, or aluminum nails to affix shingles.
Fastener Size
The International Building Code requires that roofing nails have a minimum 12-gauge shank and a 3/8-inch diameter head.
Penetration
When nailing shingles, proper penetration into the roof deck is essential to ensure the nail and shingle remain secure. For all Owens Corning® shingles, roofing nails should penetrate into the wood deck by a minimum of ¾-inch or completely through the roof deck by a minimum of 1/8-inch.
General Guidelines for Nailing Shingles
To ensure optimal performance of your asphalt roofing shingles, be sure to follow these general directions for proper nailing:
- Use the correct roofing nail material, size, and grade as specified in the shingle installation instructions.
- Fasten shingles with corrosion-resistant nails.
- Install the recommended number of nails per shingle. For duration® Series shingles, Owens Corning recommends using either a 4- or 6-nail fastening pattern depending on the roof’s slope and building code requirements. In most cases, 4 nails are adequate.
- Position the nails appropriately according to the shingle installation instructions.
- Align shingles properly to avoid nail exposure.
Where to Nail Shingles
Each shingle manufacturer has its own requirements for proper nailing, including where roofing nails should be placed. Roofing contractors should follow those guidelines and take care not to overdrive nails as this can lead to water infiltration.
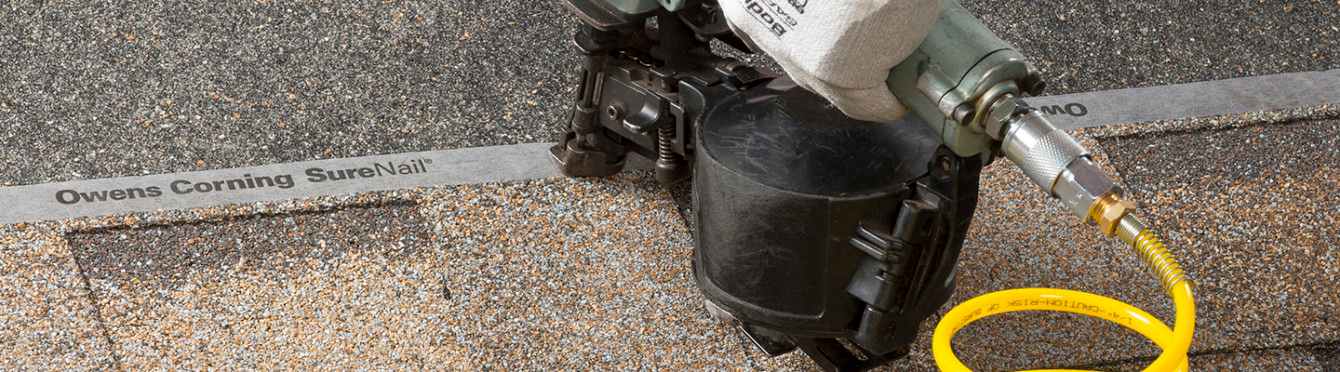
Owens Corning® duration® shingles, for example, provide a reinforced nailing zone, called SureNail® Technology – a tough, engineered fabric strip embedded on the face of the shingle that offers outstanding nail pull-through and nail blow through resistance while providing a highly visible nailing target for roofing contractors. It’s easy to see where the nails are supposed to go.
How Roof Shingles Are Installed
The specifics of how shingles are laid on your roof vary by manufacturer.
Some roofing shingles, such as duration®, are applied with a 6-1/2-inch offset and a 5-5/8-inch exposure over a prepared roof deck. Contractors start at the bottom of the roof and work across the roof’s surface and up.
How To Install duration® Shingles
Watch this installation video to learn how to install duration® Shingles.